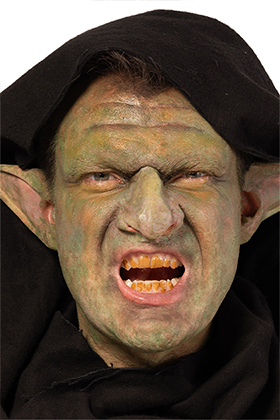
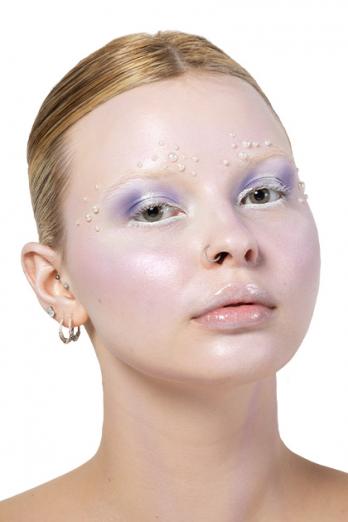
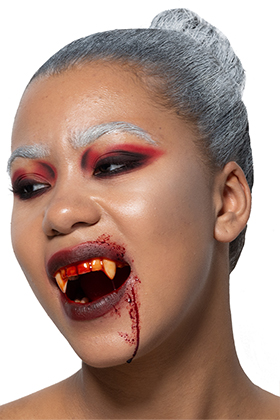
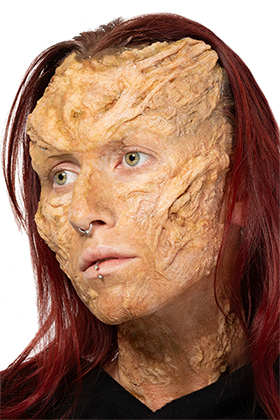
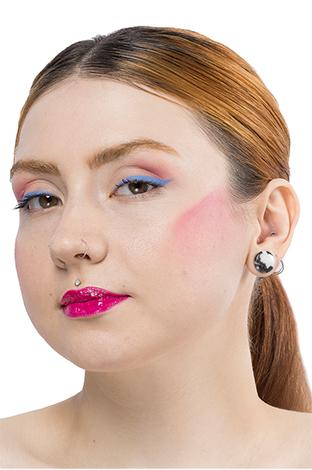
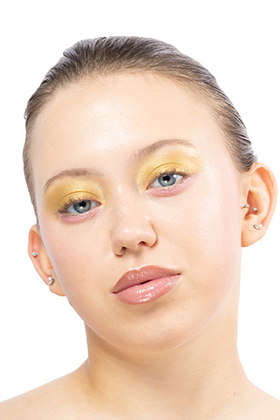
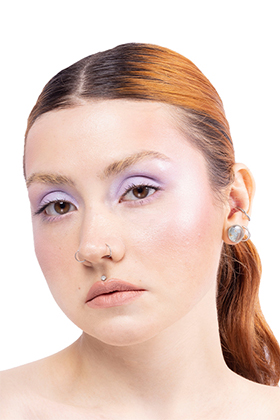
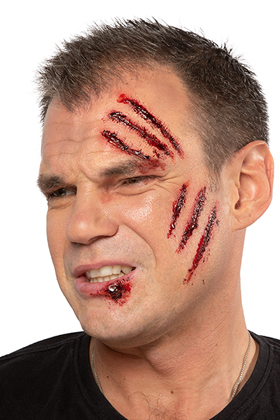
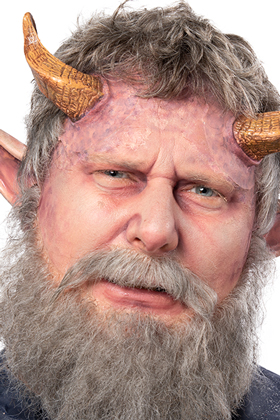
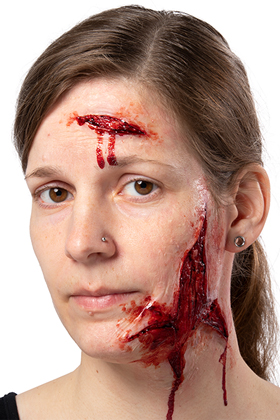
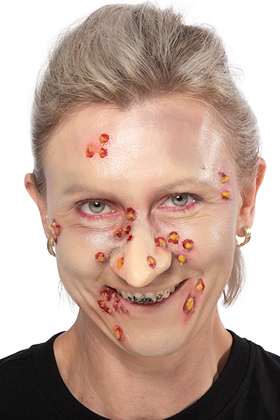
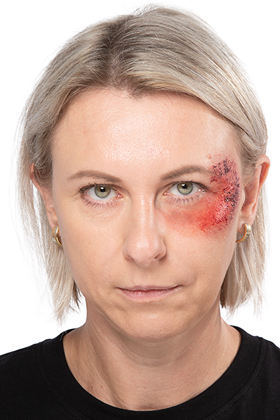
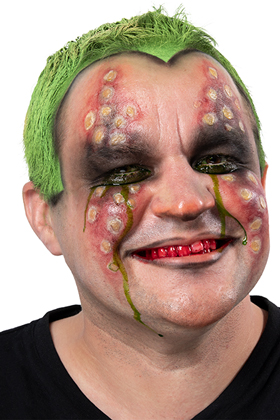
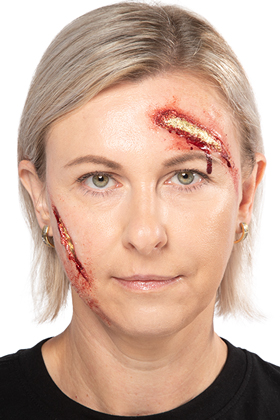
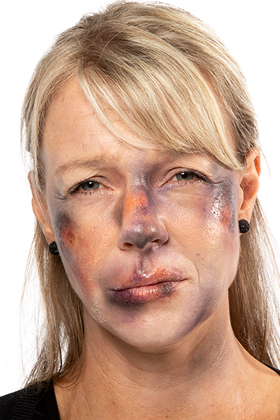
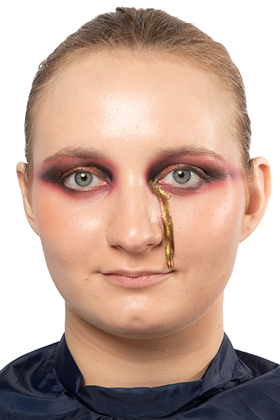
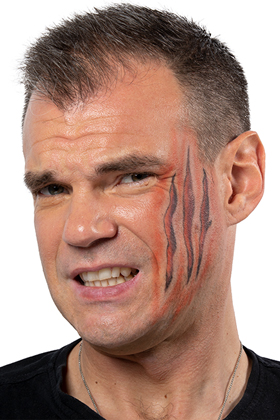
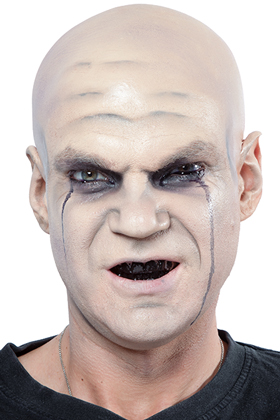
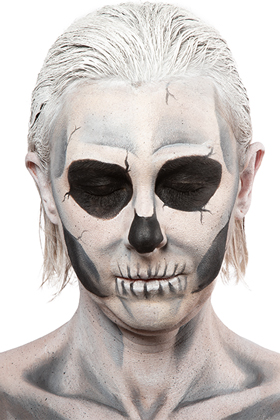
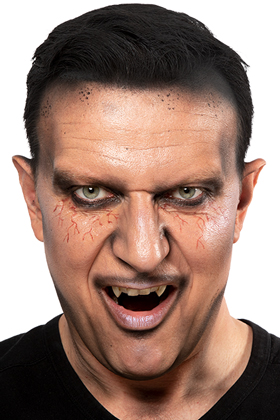
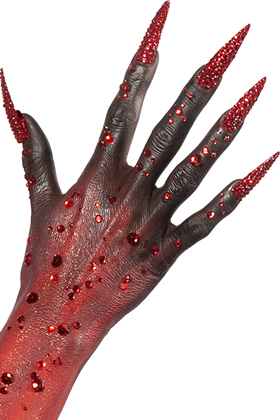
Cómo

Color an Artex wound

Before
The skin should be cleansed before applying any product. Preferably use the Natural Micellar Water 120 ml.
Step 1
Artex contains two components: A and B. Mix both parts in a 1:1 ratio and use different or cleaned spatulas. On the clean skin, apply the mixture with a Espátula para mezclar maquillaje. Layer the mix to build up the corresponding wound. With the end of the spatula, you can draw in scratches.
Step 2
Flocking aditivo de color 50 g (bright red) is a product to color silicones so that the color does not transfer even after touching; it also gives a more natural impression of the color from within the silicone. Small amounts of Flocking Color Additive mixed in Artex will cause a delicate veining to be simulated or give an impression of undertones and color variations in the skin complexion. Apply this mixture to the lips with a spatula.
Step 3
Gently dab the Esponja de goma de poros gruesos over the surface of the Artex.
Step 4
Now, use the tips of a chip brush to color the skin surrounding the wound. Repeat the process if necessary.
Step 5
Color the inside of the wounds/cuts with 080 of the Body Illustration Make-up Color Paleta de 18 colores (Bright) and BIC Activator.
Step 6
In this step, color the eye area and the edges of the wounds with 079 from Body Illustration Make-up Color Paleta de 18 colores (Bright) and BIC Activator.
Step 7
Fill the wounds with HD Blood 15 ml - Sangre HD (dark venous). The flow rate is slightly slower than real blood. That's why it's great to work with.
Step 8
Add Sangre Drying Blood 50 ml (dark) to the cuts to give more definition.

Productos utilizados